New Skill: Cuff Bracelet from Casting Grain
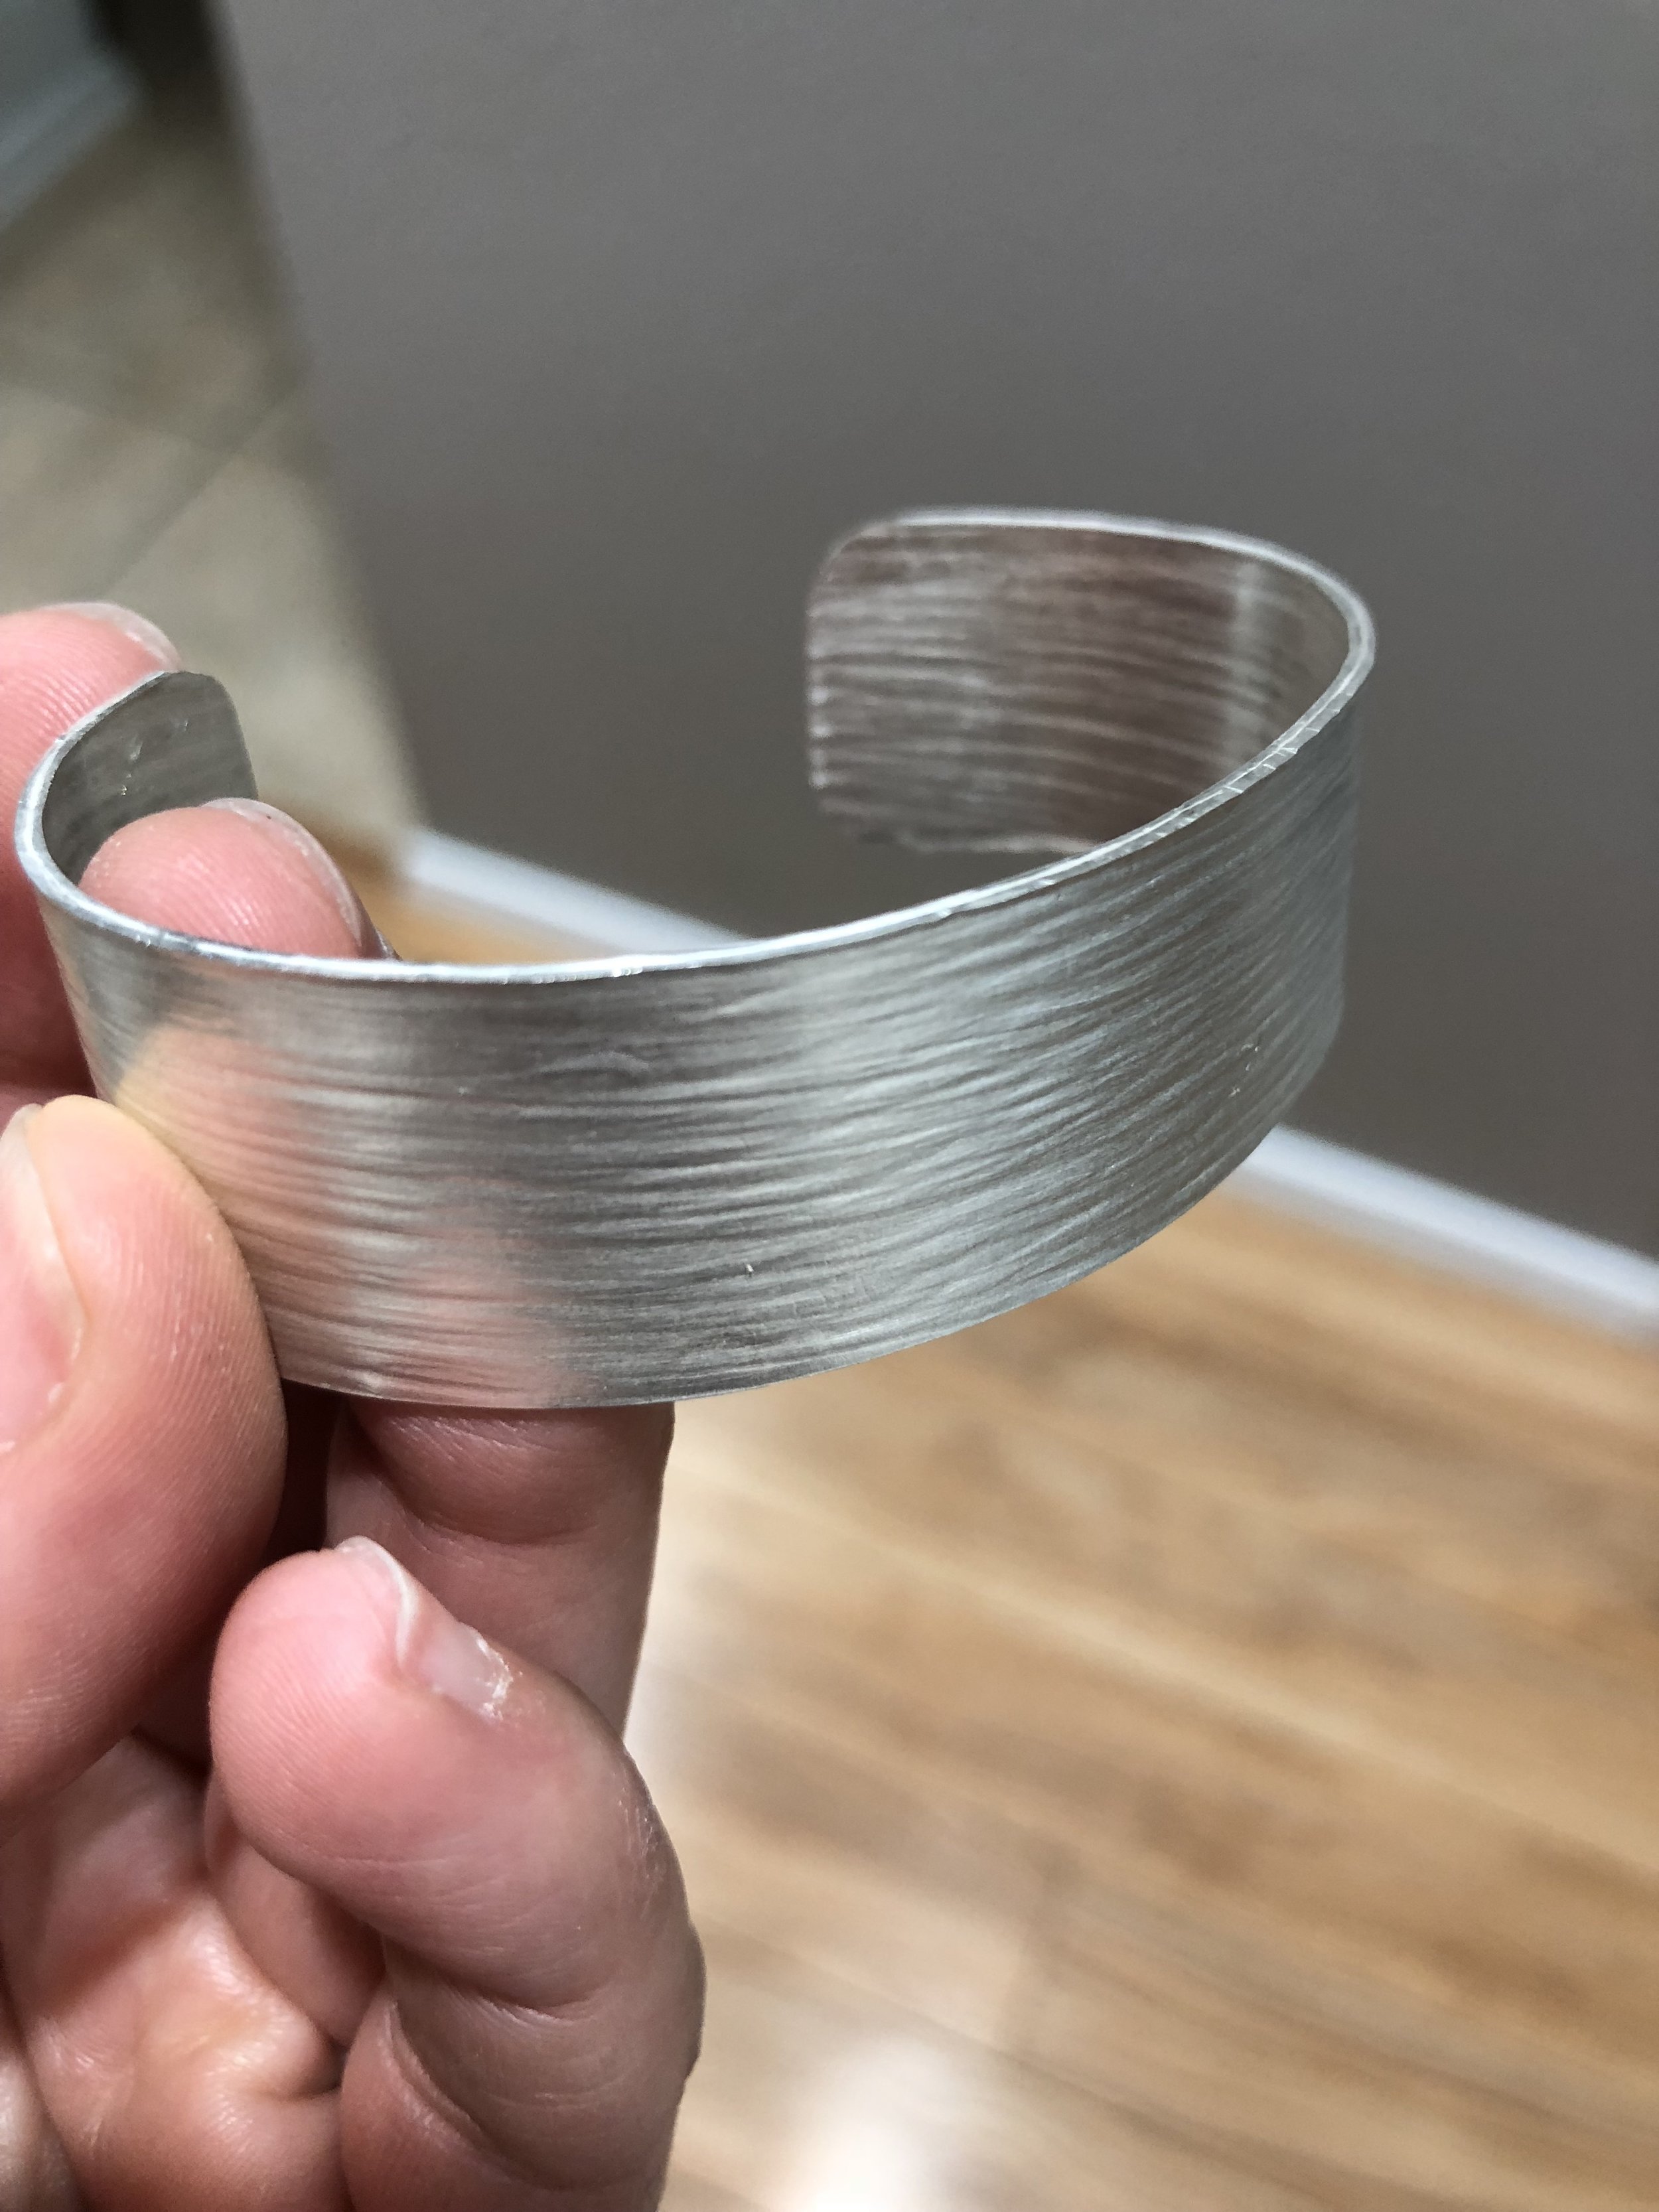
This was the first of 3 projects in my 8-week Jewelry 3 & 4 course at Silvera Jewelry School. What started off as a pile of sterling silver pebbles ultimately became a beautiful custom cuff bracelet.


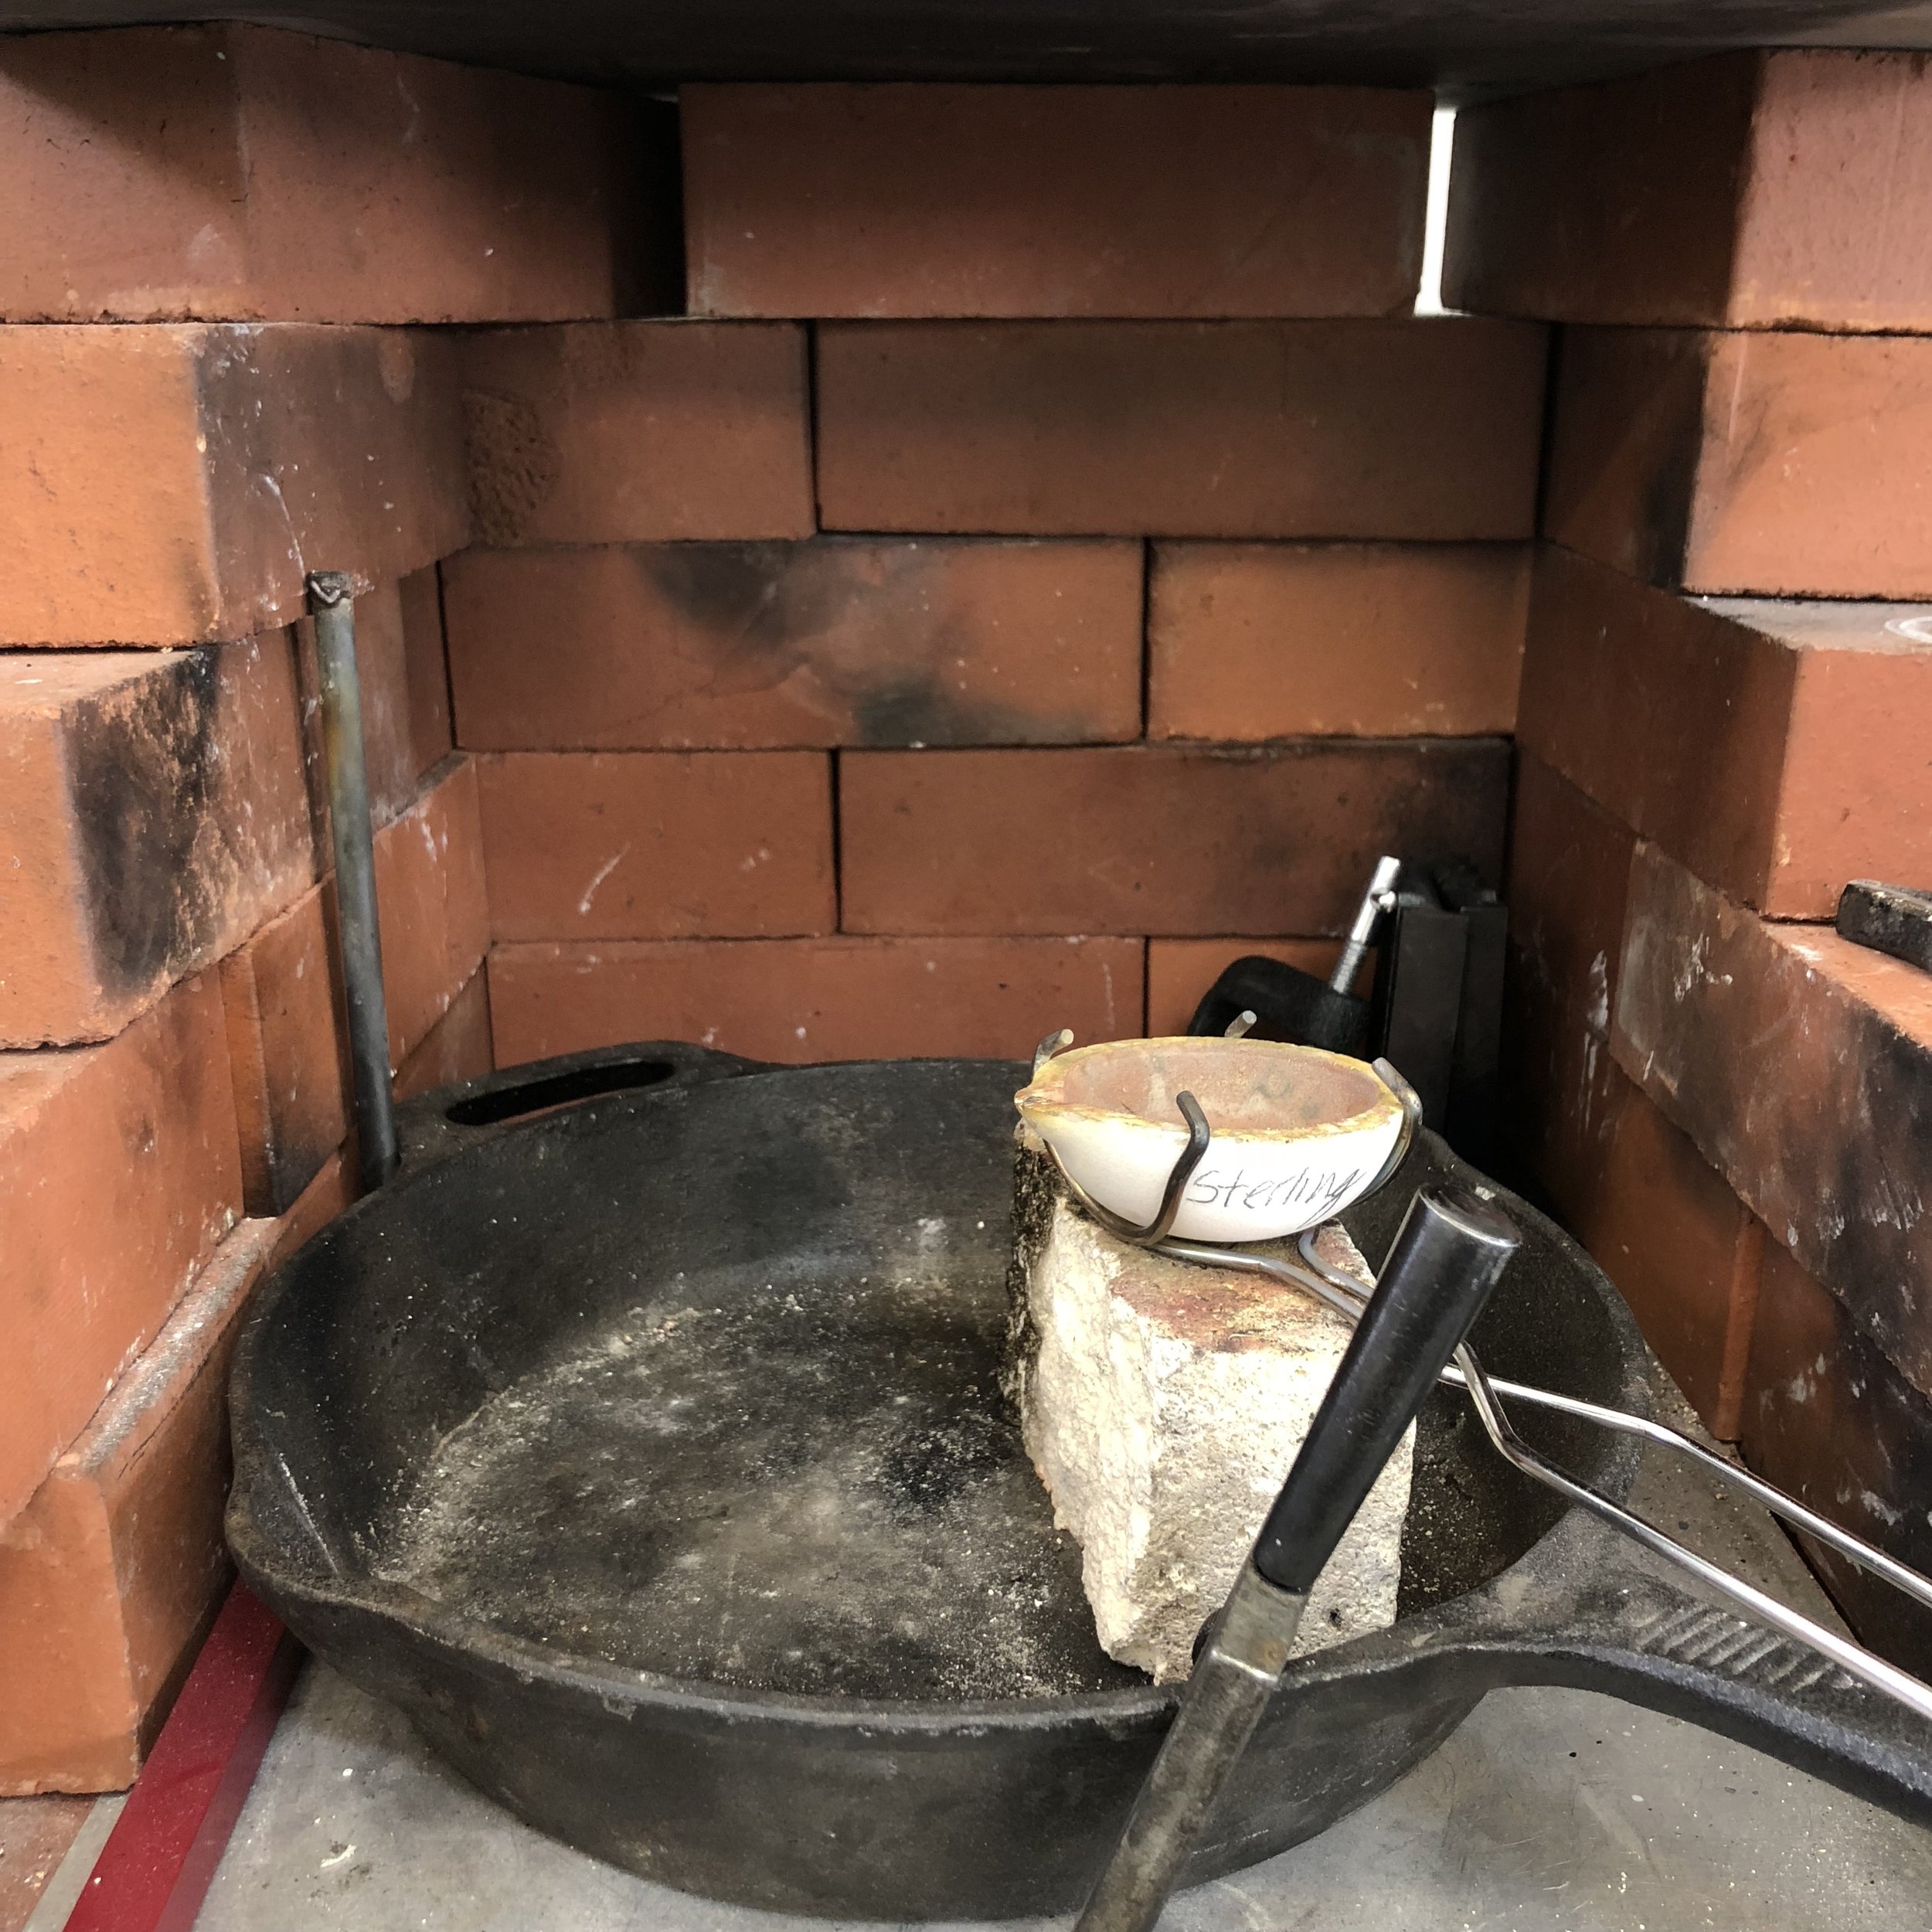
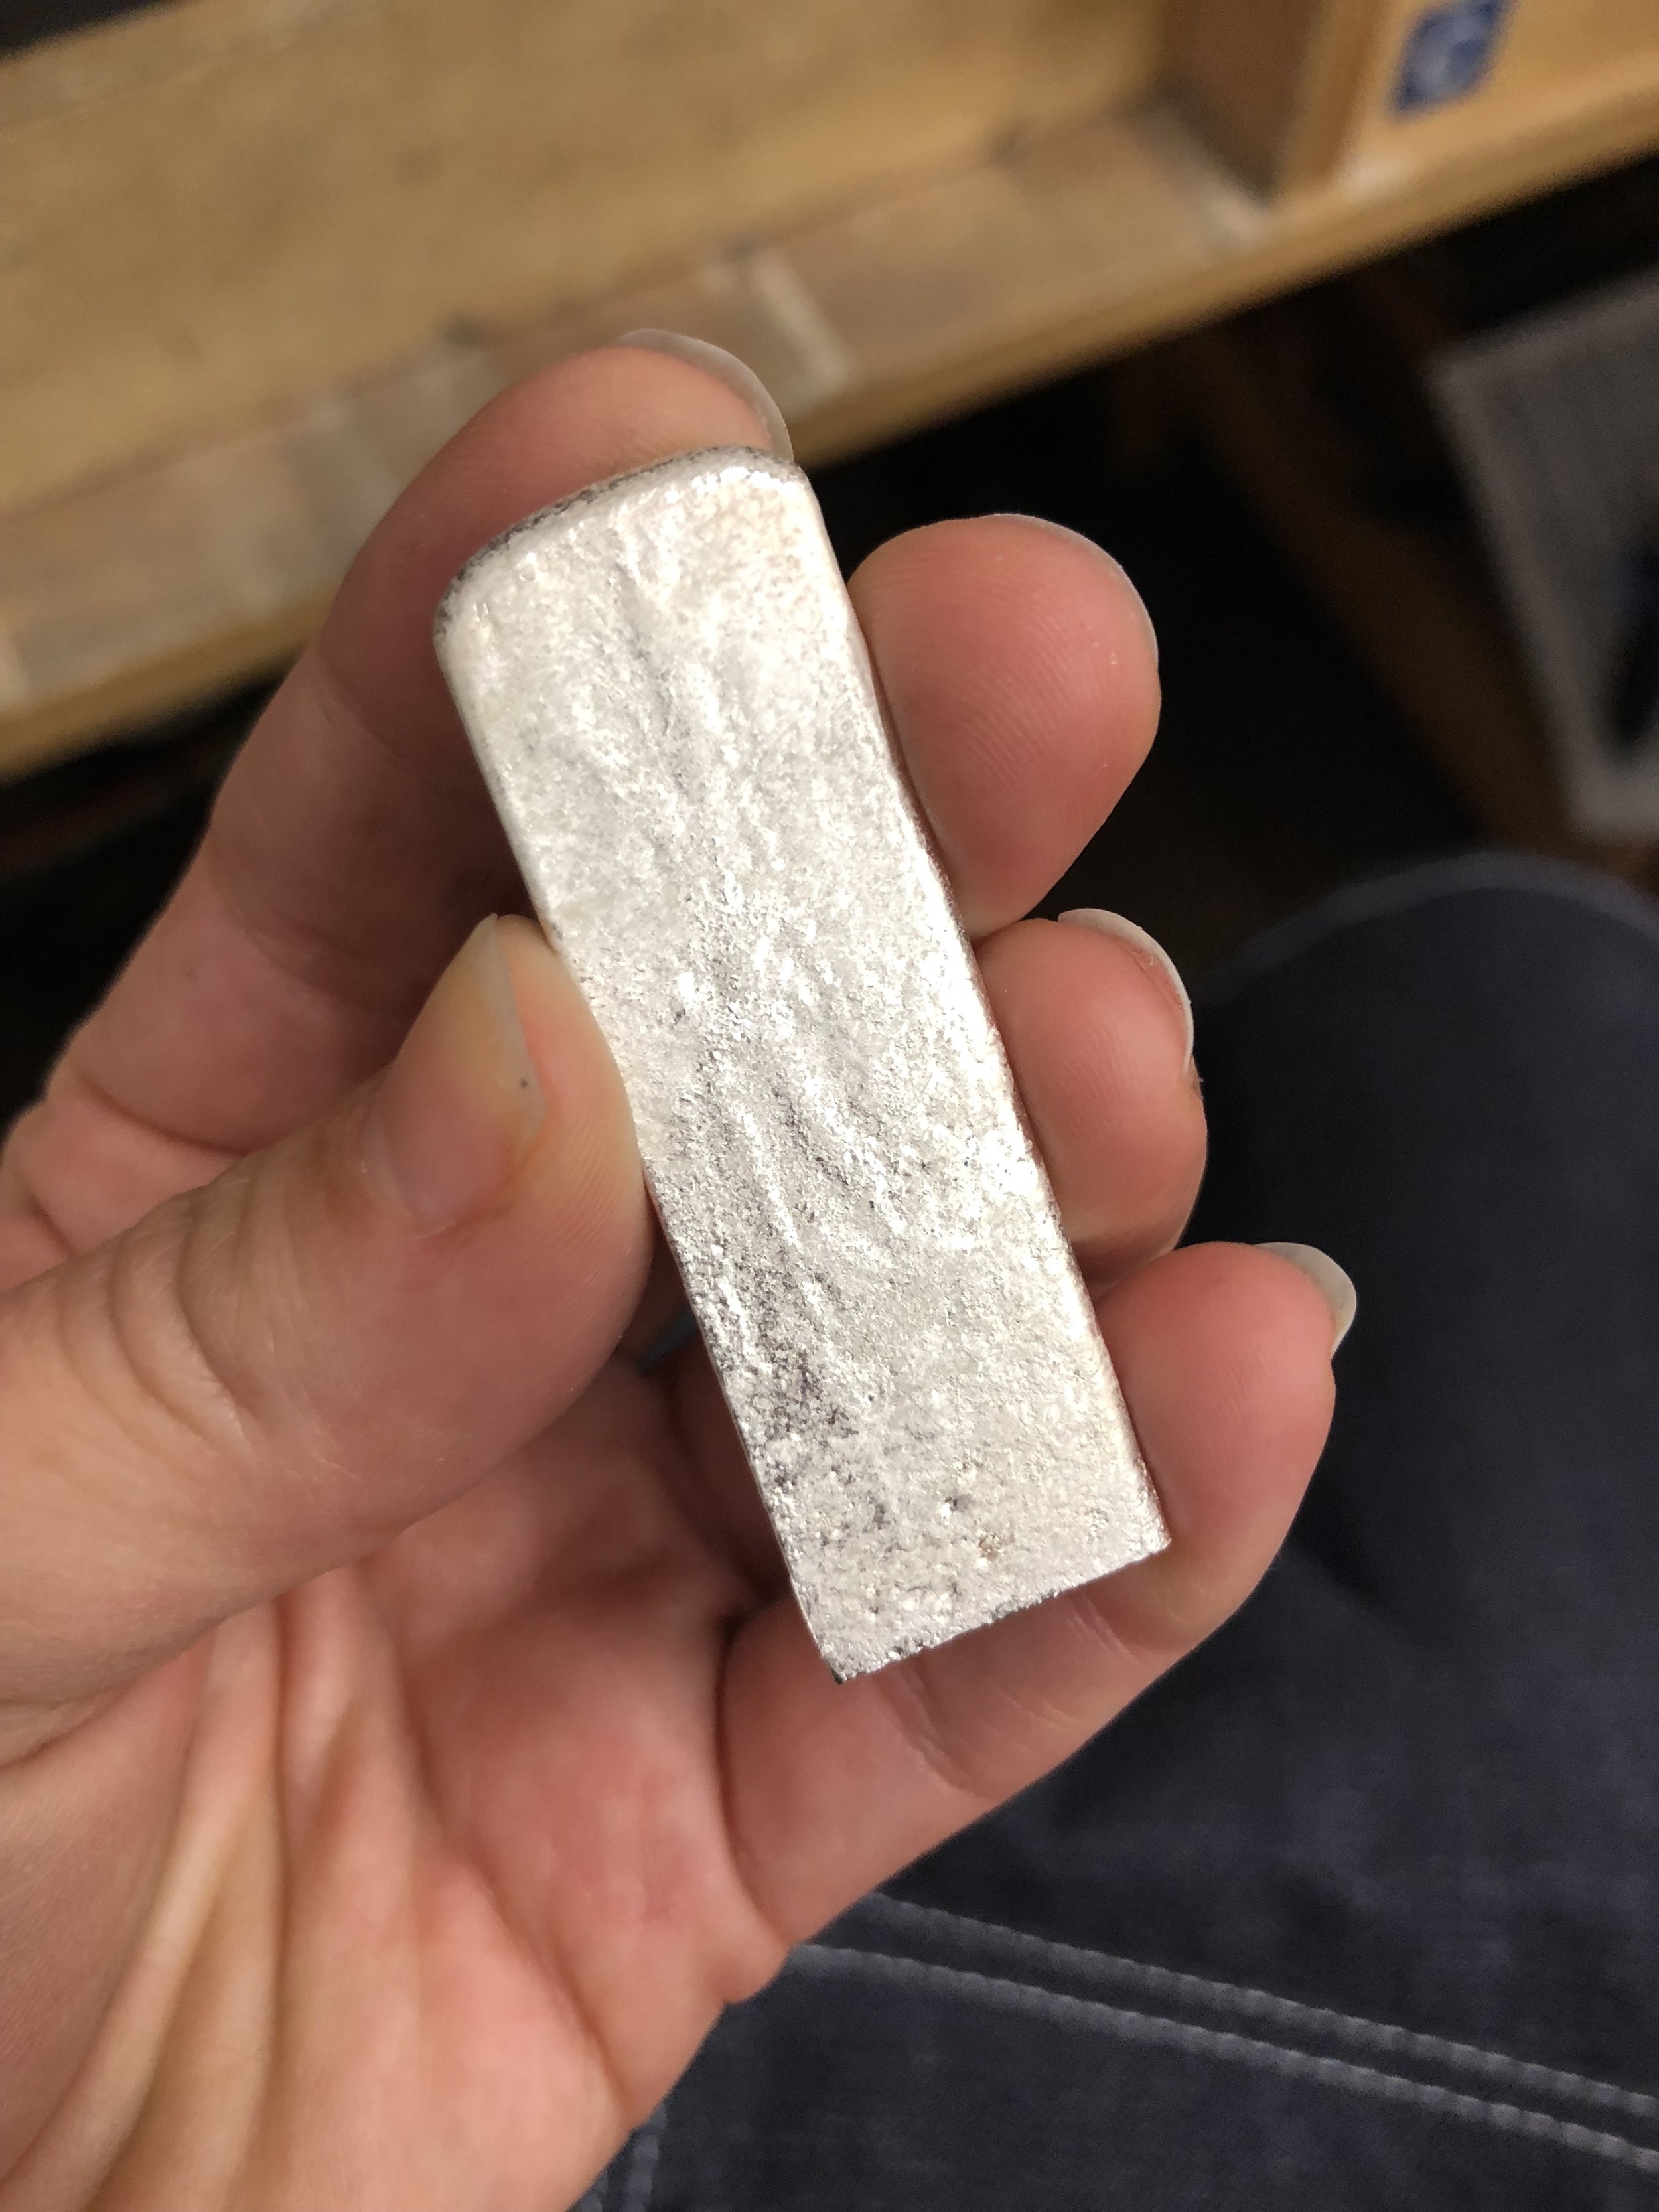
We first had to get the metal up to melting temperature. The flame gets so hot you have to wear special glasses to protect your eyes from UV rays. We then pour the melted metal (quickly) into an iron casting mold to create what’s called an “ingot”, that funny looking chunk of metal pictured below.
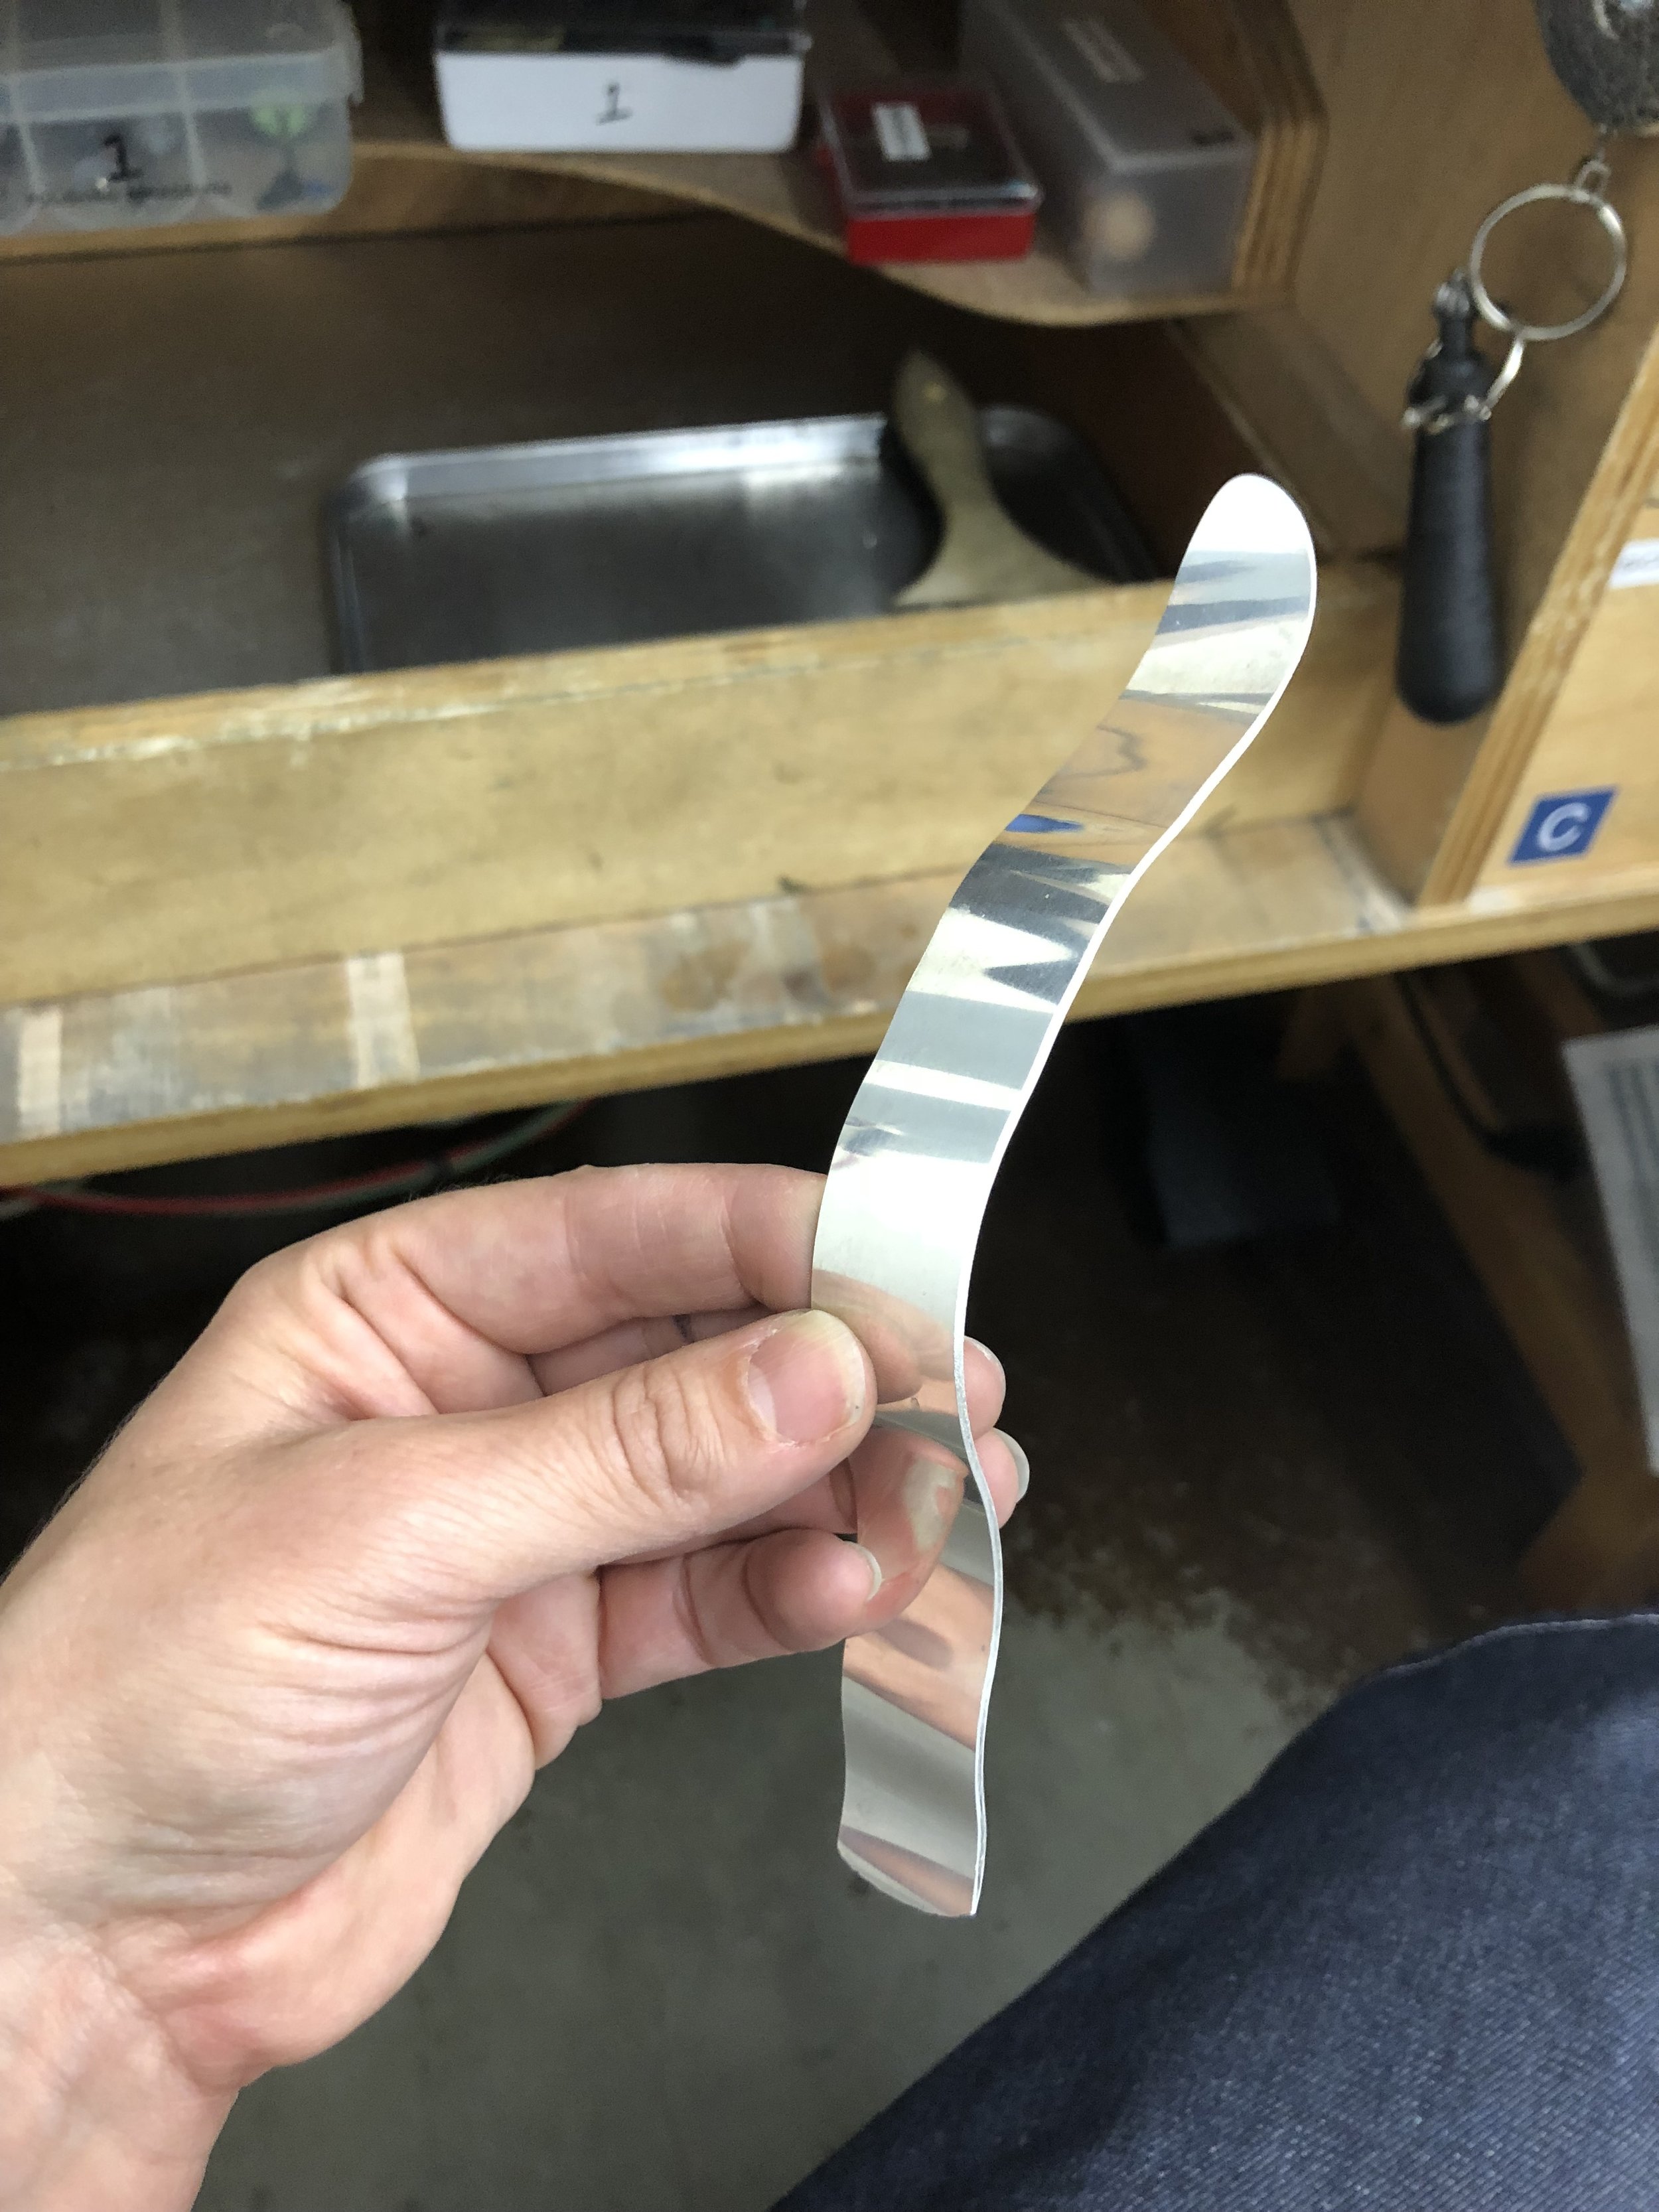
Then it’s time to mill the ingot into a long, thin strip. This takes a little time, because the metal begins to harden each time it passes through the mill, so periodically it needs to be “annealed”, which means heating it with a torch until it’s red hot, then “quenching” it in water to cool and “pickling” it in a citric acid solution to prevent “fire scale” from forming. (Yes, I know, there’s a lot of terminology to learn!)
Once the strip is a sufficient length and thickness, it’s passed through the mill once more, but this time to press texture into it. I used dried corn husk to create the texture on mine. It gave it an organic and natural feel.
Next step: form into the cuff shape, file and polish.


